 Dream Mill Homes
Removing wallpaper can completely transform a room, giving it a fresh and modern look. Whether you’re preparing to repaint, redesign, or renovate, learning the correct way to remove wallpaper will save you time, effort, and damage to your walls. While the process may seem difficult, it becomes manageable with the right tools and method.
This guide explains everything you need to know about how to remove wallpaper safely and effectively.
Why Remove Wallpaper?
There are many reasons homeowners choose to remove wallpaper:
- Outdated designs or patterns
- Peeling or damaged wallpaper
- Preparing walls for painting
- Water damage behind the wallpaper
- Renovation or home improvement projects
No matter the reason, proper removal ensures a smooth surface for your next design step.
Tools and Materials You Will Need
Before starting, gather the following items:
- Drop cloths or plastic sheets
- Painter’s tape
- Utility knife
- Putty knife or wallpaper scraper
- Spray bottle or sponge
- Bucket of warm water
- Wallpaper remover solution (optional)
- Steamer (optional, for tough wallpaper)
- Ladder (if needed)
- Gloves and safety glasses
Having everything ready will make the process smoother.
Step 1: Prepare the Room
Start by protecting your space.
- Remove furniture from the room or move it to the center and cover it.
- Cover the floor with drop cloths or plastic sheets.
- Turn off electricity if working near outlets.
- Remove switch plates and outlet covers.
- Use painter’s tape to protect baseboards.
Preparation prevents unnecessary damage and cleanup.
Step 2: Test the Wallpaper Type
There are different types of wallpaper, and knowing which one you have is important.
1. Peelable Wallpaper
This type is easiest to remove. You can peel off the top layer by hand, leaving the backing behind.
2. Strippable Wallpaper
It can be removed without much water. It usually comes off in large pieces.
3. Traditional Wallpaper
This type requires water or a wallpaper remover solution.
To test it, try peeling a corner. If it comes off easily, you’re lucky. If not, you’ll need the soaking method.
Step 3: Score the Wallpaper (If Needed)
If the wallpaper does not peel off easily, use a wallpaper scoring tool or utility knife to create small holes in the surface.
These tiny holes allow water or remover solution to penetrate and loosen the adhesive underneath.
Be careful not to press too hard, as this can damage the wall.
Step 4: Apply Water or Wallpaper Remover
Mix warm water with a small amount of wallpaper removal solution (if available). Pour it into a spray bottle.
Spray the wall generously, starting from the top and working downward. Let the solution soak for 10–15 minutes.
The water will soften the glue, making it easier to remove.
If you are working on a large area, work in sections to prevent the wall from drying before scraping.
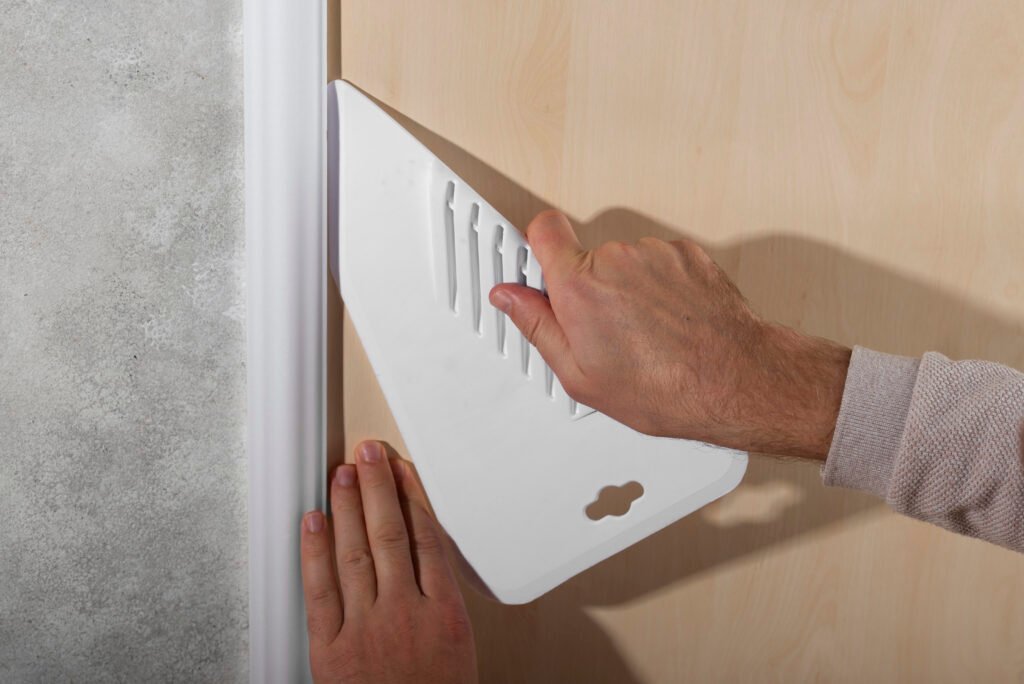
Step 5: Start Scraping
Use a putty knife or wallpaper scraper to gently lift the wallpaper from the wall.
- Start at a seam or edge.
- Hold the scraper at a slight angle.
- Work slowly to avoid damaging the wall.
If the wallpaper does not come off easily, apply more water and wait a few more minutes.
Patience is key during this step.
Step 6: Use a Wallpaper Steamer (For Tough Wallpaper)
If the wallpaper is very stubborn, a steamer can help.
A wallpaper steamer uses hot steam to loosen adhesive. Hold the steamer against the wall for a few seconds, then scrape the softened wallpaper.
This method is especially helpful for older wallpaper that has been applied with strong glue.
Always follow the manufacturer’s safety instructions when using a steamer.
Step 7: Remove Remaining Adhesive
After removing all wallpaper, you may notice sticky residue on the wall.
To clean it:
- Mix warm water and mild dish soap.
- Wipe the walls with a sponge.
- Rinse with clean water.
Let the walls dry completely before moving to the next step.
This ensures a smooth surface for painting or new wallpaper.
Step 8: Repair the Wall Surface
Wallpaper removal can sometimes damage the wall surface.
Check for:
- Small holes
- Scratches
- Peeling paint
- Uneven areas
Use wall filler or spackle to repair any damage. Once dry, sand the surface lightly for a smooth finish.
After sanding, wipe away dust with a clean cloth.
Step 9: Prime the Wall
Before painting, apply a primer.
Primer helps:
- Seal the wall surface
- Improve paint adhesion
- Prevent stains from showing
- Create a smooth base
Allow the primer to dry completely before painting.
Tips for Easier Wallpaper Removal
Here are some helpful tips:
Work in Sections
Don’t try to remove everything at once. Focus on small areas.
Stay Patient
Rushing can damage the wall.
Use Enough Water
Proper soaking is essential for traditional wallpaper.
Protect Yourself
Wear gloves and safety glasses.
Check for Mold
If you see mold behind wallpaper, clean it properly before continuing.
Common Mistakes to Avoid
Avoid these errors during wallpaper removal:
- Not preparing the room
- Skipping the soaking step
- Scraping too aggressively
- Using too little water
- Painting without cleaning adhesive residue
These mistakes can lead to uneven walls and poor paint results.
How Long Does It Take?
The time required depends on:
- Room size
- Wallpaper type
- Number of layers
- Wall condition
A small room may take a few hours, while larger spaces may take a full day.
When to Call a Professional
You may need professional help if:
- Wallpaper covers a large commercial space
- Walls are severely damaged
- There is water damage or mold
- The wallpaper is extremely old and hard to remove
Professionals have special tools and experience for difficult jobs.
Final Thoughts
Removing wallpaper may seem like a big task, but with the right preparation and tools, it becomes manageable. The key steps include preparing the room, soaking the wallpaper, scraping carefully, cleaning the wall, and repairing any damage.
Taking your time and following each step properly will ensure a clean surface ready for painting or new decoration.
With patience and effort, you can successfully remove wallpaper and give your walls a fresh, updated look.
FAQs
The easiest way is to peel it off if it’s strippable. If not, soaking it with warm water or a wallpaper removal solution helps loosen the adhesive.
Not always. A steamer is only needed for tough or old wallpaper that doesn’t come off with water and scraping.
It is not recommended. Painting over wallpaper can lead to bubbling, peeling, and uneven surfaces. It’s best to remove it first.